
Tightening and Torquing Caravan Wheels: Safe and Secure Travel
Ensuring that your caravan wheels are properly tightened is crucial for safety on the road. A lot of issues with loose wheels stem from incorrect tightening practices. Whether you’ve taken the wheels off for maintenance, or a tyre company has worked on your caravan, it’s important to understand the correct method of tightening wheel bolts to avoid future issues.
In this article, we’ll walk you through the process of tightening and torquing caravan wheels properly, including why it’s so important and how to avoid common mistakes.
Wheel Bolts and Their Function
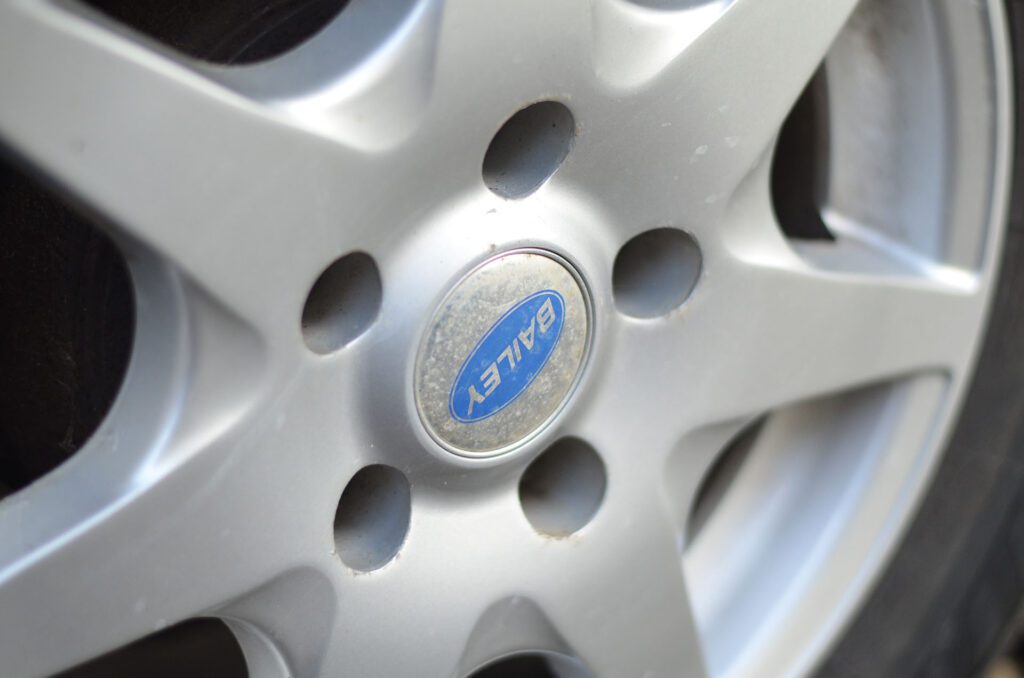
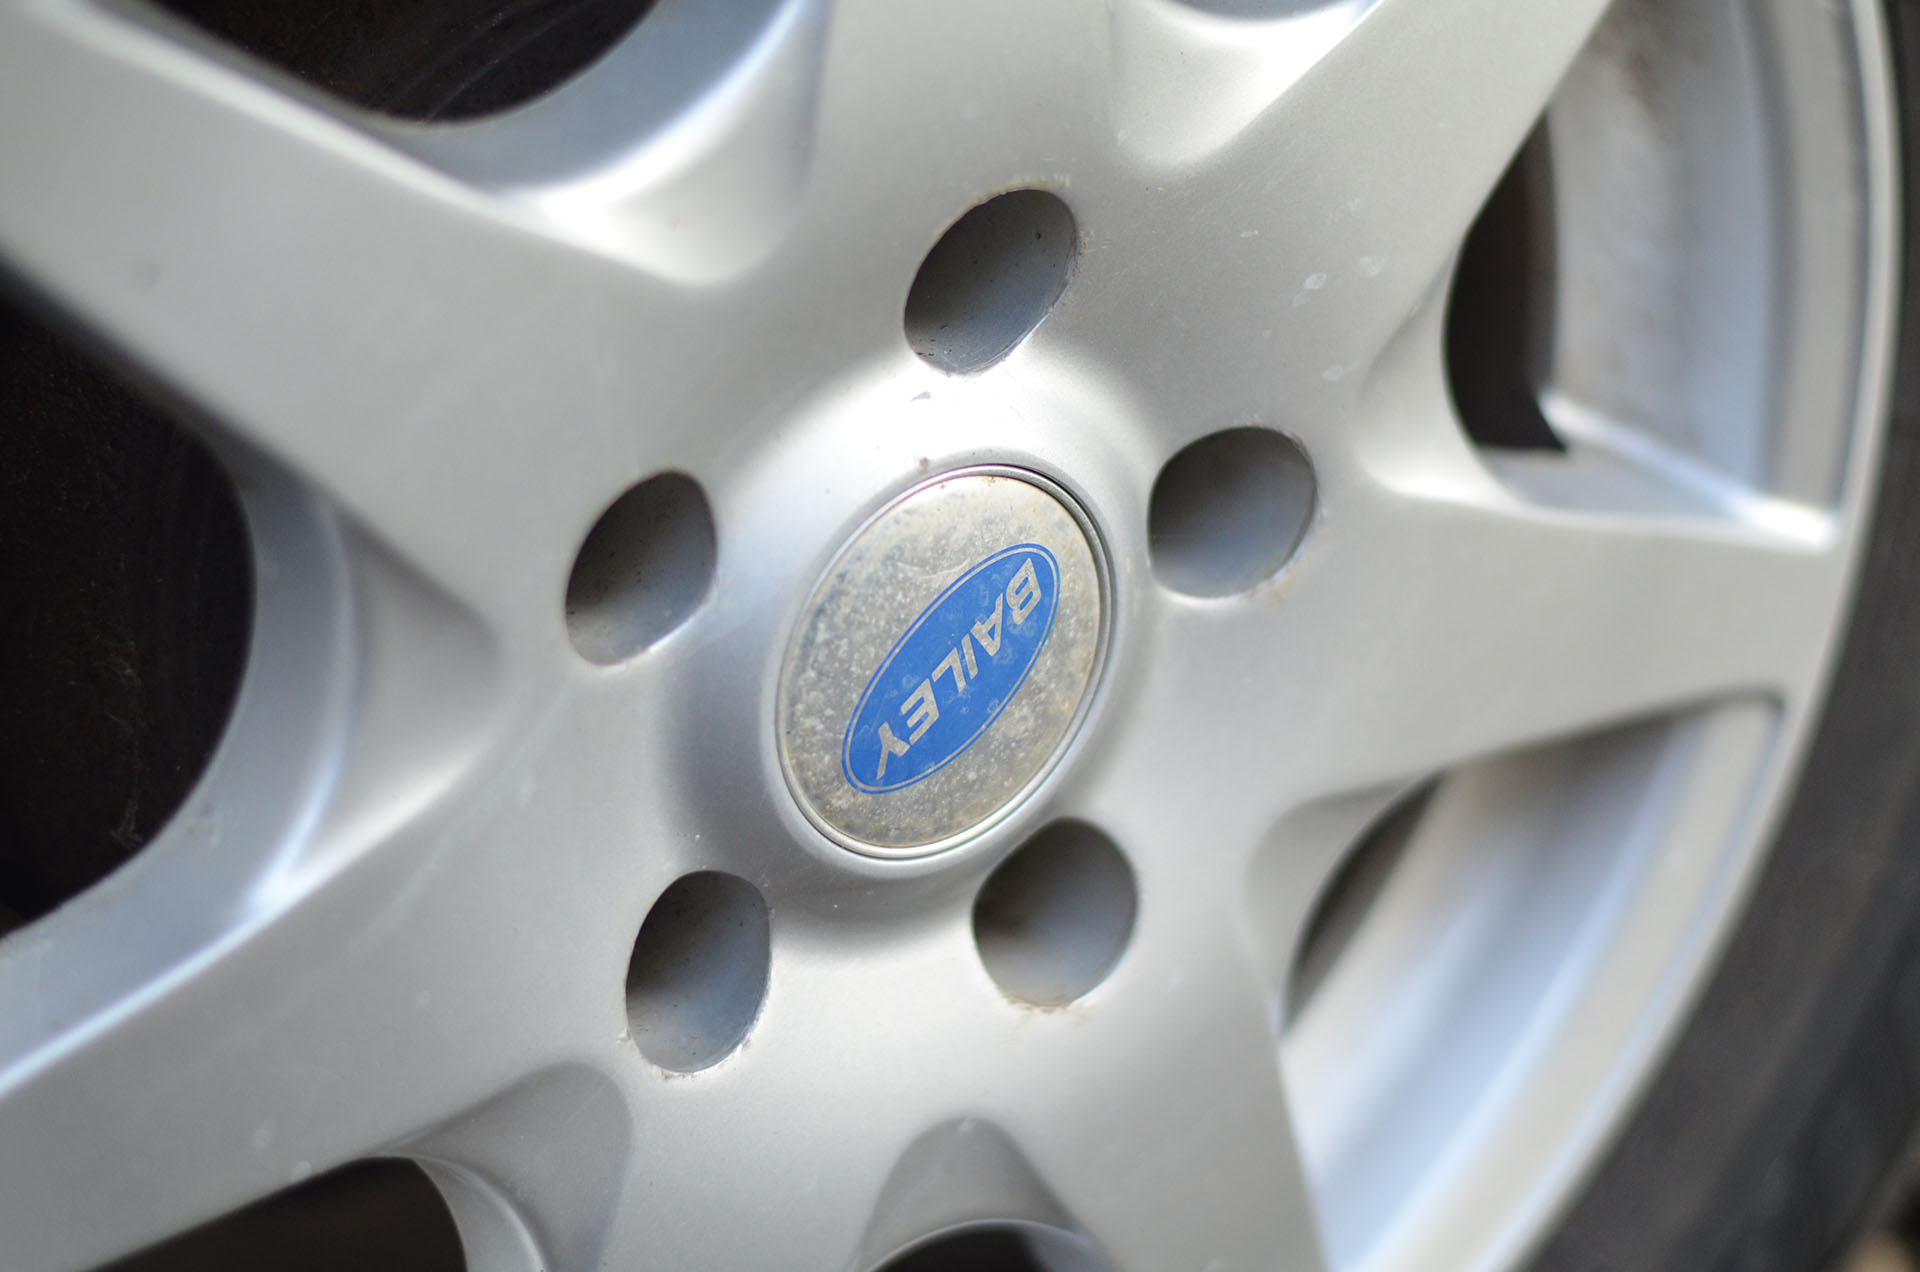
Many modern caravans, like most cars, are fitted with wheel bolts rather than the older-style studs and nuts. The hole in the wheel where the bolts go through is typically much larger than the diameter of the wheel bolts themselves. This is because the bolts have a tapered shoulder.
The tapered shoulder serves two important purposes:
- Prevents the bolts from coming loose.
- Helps to centre the wheel on the hub of the caravan.
When tightening the wheel bolts, it is crucial to ensure the bolts are tightened evenly and in the correct sequence. Failing to do so can result in improperly torqued bolts, leading to loose wheels and unsafe driving conditions.
The Correct Way to Tighten Caravan Wheel Bolts
Step 1: Hand Tighten the Wheel Bolts
Start by getting all of the wheel bolts in place, but don’t fully tighten them yet. Hand-tighten each bolt to ensure they are all threaded correctly.
Step 2: Nip Each Bolt in Sequence
Once all the bolts are hand-tight, you should “nip” each bolt up in a specific order. This means tightening them just enough to make them secure but not fully torqued. The order should be evenly spaced, and typically it’s recommended to use a star pattern (e.g., 1, 3, 5, 2, 4) or a crisscross pattern to ensure the wheel is evenly centred.
Here’s an example of a typical sequence:
- Start with bolt 1 at the top.
- Move clockwise around the wheel in the sequence 1, 3, 5, 2, 4.
By the time you get back to bolt 1, you may notice that it’s slightly loosened. This happens because tightening the other bolts in sequence allows the tapered shoulders of the bolts to centralise the wheel, and the wheel will naturally shift slightly. This is completely normal. At this point, go back and re-tighten each bolt a little further, following the same sequence.
Step 3: Final Tightening
Once you’ve gone around the wheel and nipped all the bolts up, you can now proceed to the final tightening. This is where you use a torque wrench to apply the manufacturer’s recommended torque. It’s important to use a torque wrench because over-tightening or under-tightening can both cause issues. Over-tightening can damage the wheel or bolts, while under-tightening can lead to loose bolts and a potentially dangerous situation on the road.
Why Wheel Bolts Come Loose
If wheel bolts aren’t tightened properly, the wheel may not be fully centred on the bolt holes during the initial tightening. This can cause the bolts to feel tight at first but loosen after some time on the road. When the wheel centralises after a few bumps or vibrations, it can cause the bolts to gradually loosen, even if they were initially torqued correctly.
One reason for this problem is air gun tightening, often used by tyre companies. While these tools are fast and convenient, they sometimes don’t allow for the proper centring of the wheel. This is why tyre shops usually recommend re-checking the bolts after a few miles of driving. By tightening the bolts in the correct sequence and using a torque wrench, you can avoid the risk of the wheel becoming misaligned and the bolts coming loose.
Tips for Keeping Your Caravan Wheels Tight and Secure
- Check the bolts regularly: It’s a good idea to re-check your wheel bolts after the first 50 miles of towing and every 500 miles thereafter. This is especially important if you’ve recently had your tyres or wheels removed or changed.
- Use a torque wrench: Always use a torque wrench to tighten the bolts to the manufacturer’s specifications. A torque wrench ensures you don’t over-tighten or under-tighten the bolts.
- Avoid using air guns for final tightening: Air guns are useful for quick jobs, but for safety reasons, you should always finish tightening the bolts with a hand tool and a torque wrench.
- Ensure the wheel is centred: When tightening the wheel bolts, follow the correct sequence to ensure the wheel is centred on the hub. This will prevent the bolts from loosening after some driving.
Conclusion
Properly tightening and torquing your caravan wheel bolts is essential for the safety and longevity of your caravan. Following the correct sequence and torque settings ensures that the wheels are securely attached and centred. By taking a little extra time to nip up the bolts in sequence and applying the correct torque, you can avoid the frustration of loose wheels and enjoy a smoother, safer journey.
How often should I check my caravan wheel bolts?
You should check your wheel bolts regularly, especially after the first 50 miles of towing. It’s also recommended to re-check them every 500 miles.
Can I tighten the wheel bolts with an air gun?
While air guns can be used to loosen bolts, they should not be used for final tightening. Always use a torque wrench to ensure the correct amount of torque is applied.
What happens if I don’t torque the bolts correctly?
If the bolts are not torqued correctly, the wheel may become misaligned, causing the bolts to loosen over time. This could result in dangerous driving conditions.
Why is a star pattern used when tightening bolts?
A star or crisscross pattern ensures that the wheel is tightened evenly, preventing the wheel from becoming misaligned during tightening.
What should I do if I notice a wheel bolt is loose?
If you notice a wheel bolt is loose, stop immediately and check all bolts. Tighten any loose bolts following the correct sequence and torque specifications. If the problem persists, have the wheel checked by a professional.